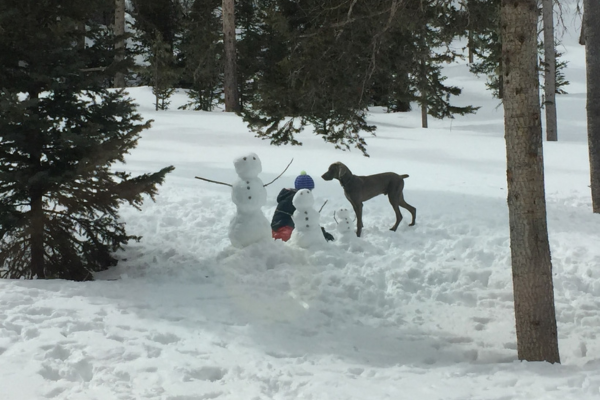
As Anna once said, “Do you wanna build a snowman?” After a snowstorm hits Red River it is inevitable that the kids, as well as adults, want to brave the cold and partake in winter activities such as a snowball fight, snow angels, and the most popular, build a snowman. If you have ever tried to build a snowman you know that it is easier said than done, so we have put together a guide with tips on how to build a snowman, snowwoman, or even a snow family that will grab the attention of those passing by.
#1 The Right Type of Snow To Build a Snowman
It is important that you are using the right type of snow when trying to build a snowman. The snow must be workable, meaning it can’t be too dry or too frozen. If the snow is too dry, it will be really fluffy and fall apart. Once you are certain you have the right snow, it’s time to find a flat surface to build your Frosty.
#2 Start Rolling the Bottom of the Snowman
A good rule of thumb for making a snowman is that the perfect ratio is 3:2:1. You will begin the foundation of your snowman by rolling snow into a ball, a big one. Make sure you are rolling it around in all directions so that you come out with a circle and not a peanut-shaped piece of work. A snowman consists of three layers, each sphere is a smaller size than the one below it. Depending on how big you make the bottom piece will determine how big or small your snowman will be. Flatten the top of this piece so that the second piece will sit on it without falling off.
#3 Create the Middle Section of Your Snowman
Begin the torso of the snowman by creating another snowball and adding to it. You will want to repeat the same process you did for the bottom piece, just smaller. Once your second piece is done you will want to place it on top of the bottom section that you already have created. Be sure to center this piece; you don’t want your snowman to fall over!
#4 Time to Build the Head of the Snowman
Scoop another snowball and begin to create the head. It may be easier to make the headpiece in your hand so that you don’t add too much snow to it, making it too big. Add it on top of the middle section and add extra snow, connecting the top 2 pieces to make it more secure.
#5 Gather Materials to Make Your Snowman Come Alive
Once your snowman or snowwoman is constructed, it’s time to gather other items to bring your snowman to life. Start by gathering a pair of rocks or buttons for the eyes. Search around outside for a pair of sticks that will become his arms. You will need to find something such as a carrot for its nose. If you have a hat and scarf with you then those items can be placed on your snowman too. If you are having trouble finding items to serve as a nose or eyes, stop by any of Red River’s stores such as The Candy Crate to look around for some creative ideas. Remember that there is no right or wrong way to decorate a snowman, so be creative and have fun.
Now get out there and get to work and create your very own Red River snowman. Building a snowman should be fun for everyone involved. Take your imagination to the next level and create a family of snowmen once you’ve accomplished your first member of the family.


